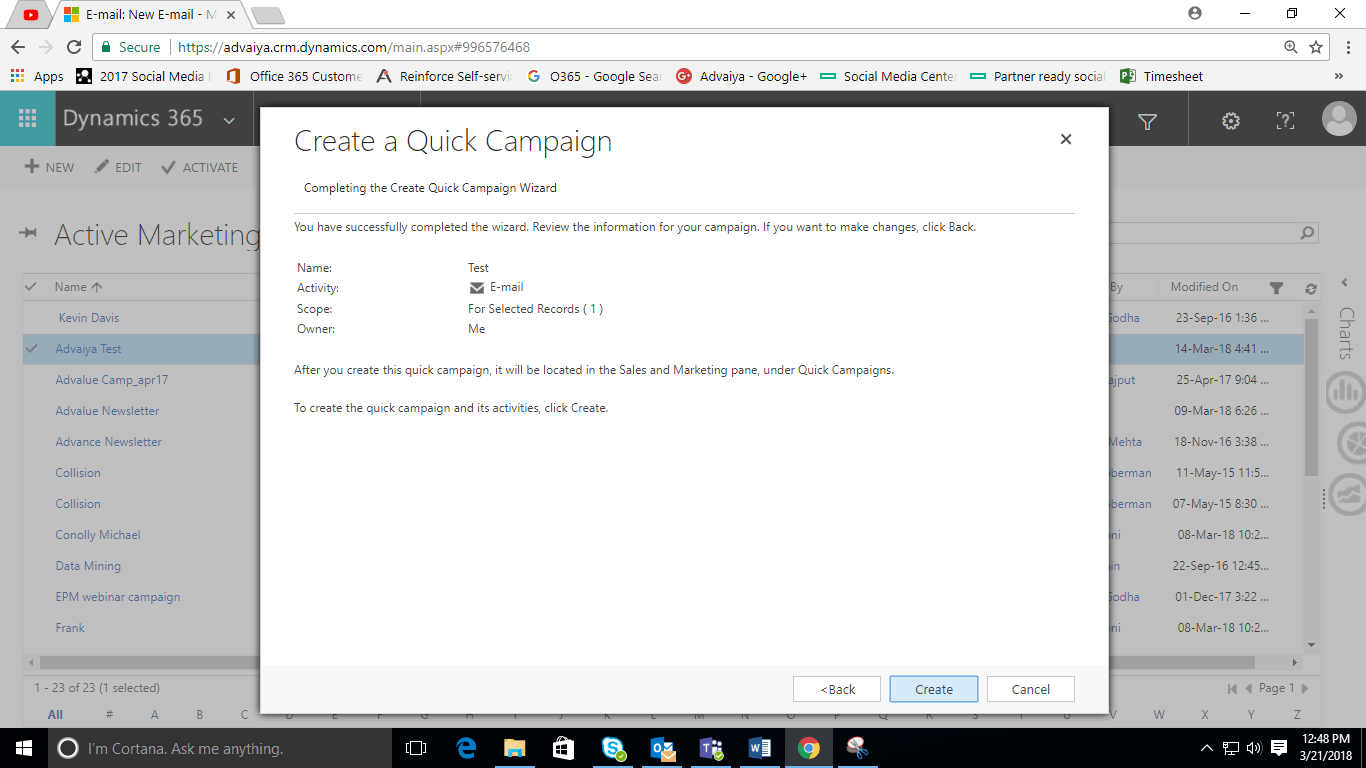
A quick campaign is used to send a single activity to a list of contacts or accounts in your system. The activity could be an email, series of phone calls, letters, faxes or appointments. Quick campaigns are created from ‘Marketing Lists’ within the CRM. So, to navigate to your Marketing Lists, we go to the ‘Marketing’ tab (orange tab) and go to Marketing Lists and highlights/select the one we need. We already have a test list created here.

Once your choice of marketing list is highlighted, you simply click Create Quick Campaign icon on the top of the screen which will open the Create Quick Campaign wizard. The user simply needs to follow the below steps to create a campaign.
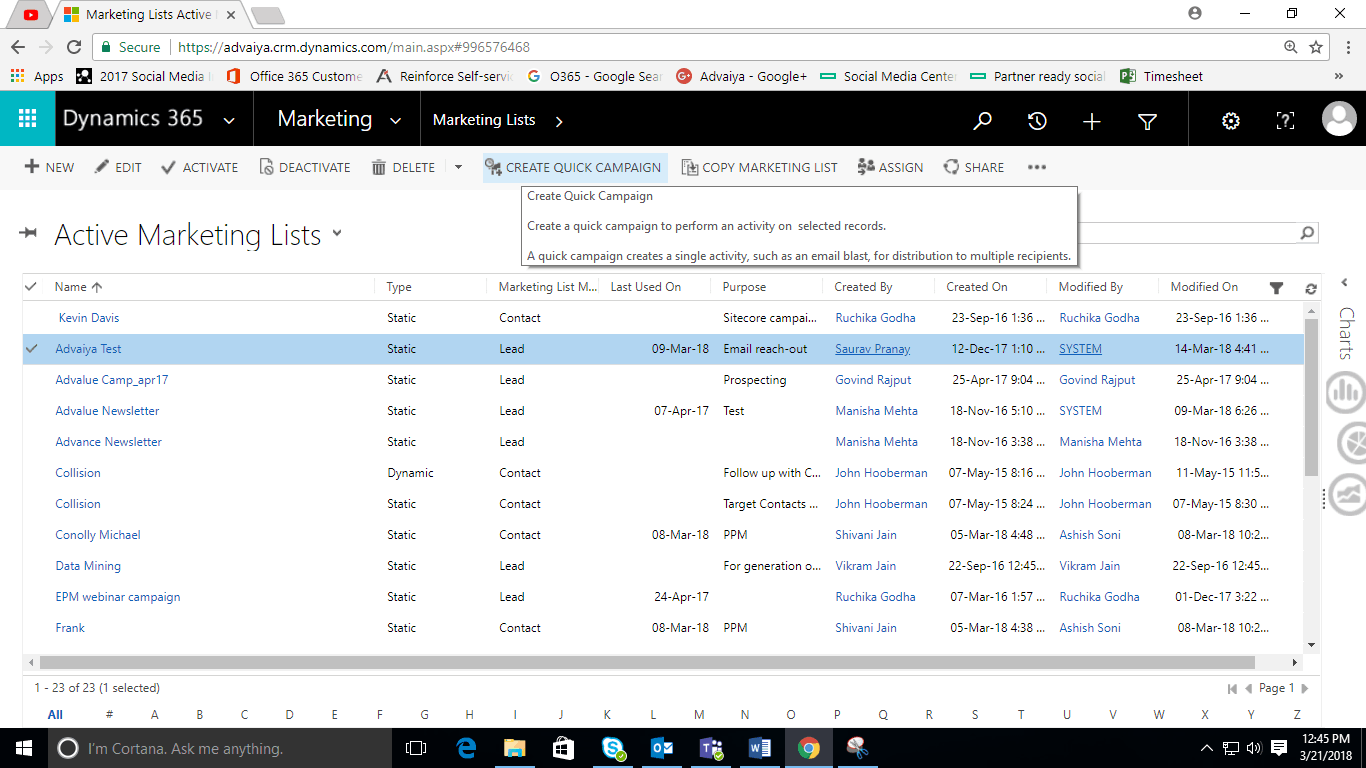
So, click on Next. And give your campaign a Name. Click on Next.
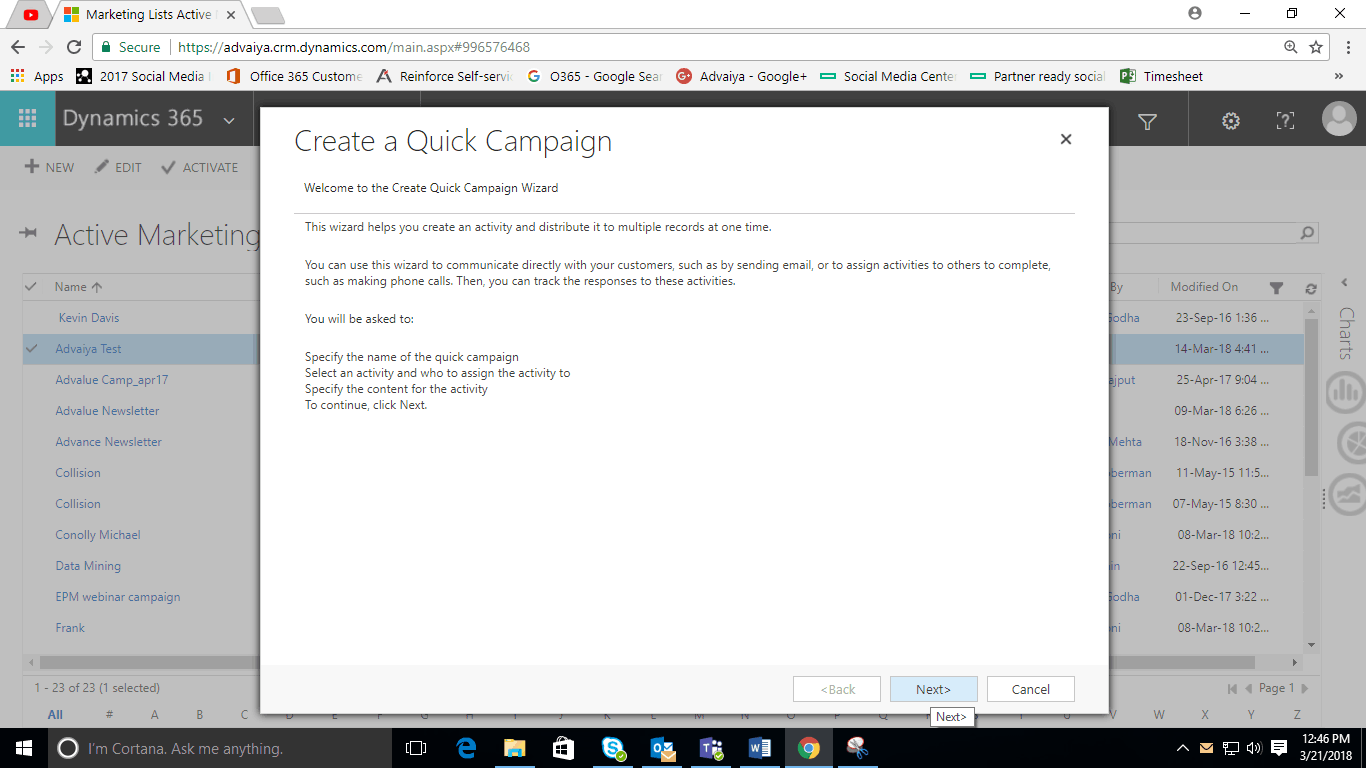
And you can specify the Type of Activity you want to create. Is it a Phone calls, Appointments, Letters, Faxes or an Emails? Well let’s say it’s Emails. And then I can assign who I want these activities to belong to. So, who will the emails be sent from. So, I can specify it to be me, the person who has created the campaign. I can specify the owners from the record, so it could be the account manager of each of those contacts. We could also assign the activity to any other member of the user or team or we can add the activities to the queue. I want to assign it to me, so I click on that. And I also want the email messaged to be sent and the corresponding email activities to be closed so I will also highlight the last check box and click Next.
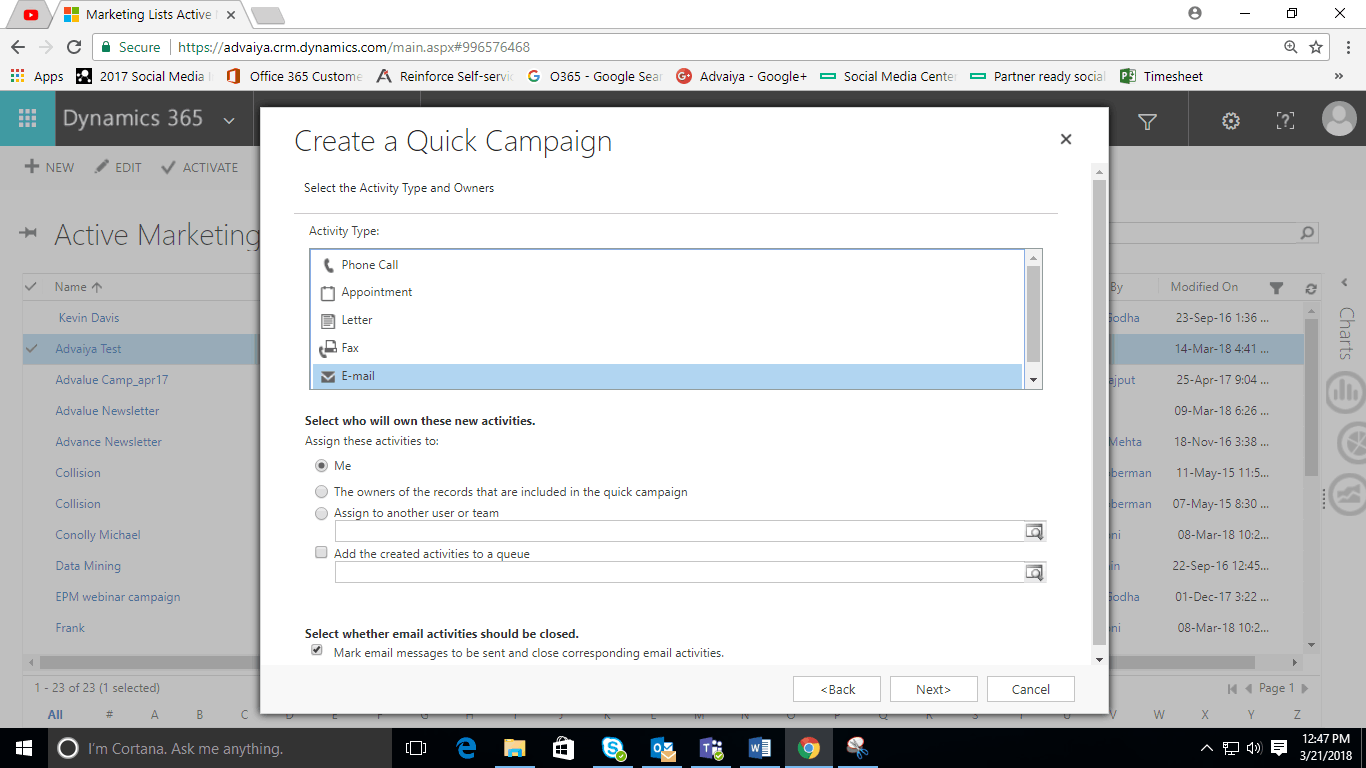
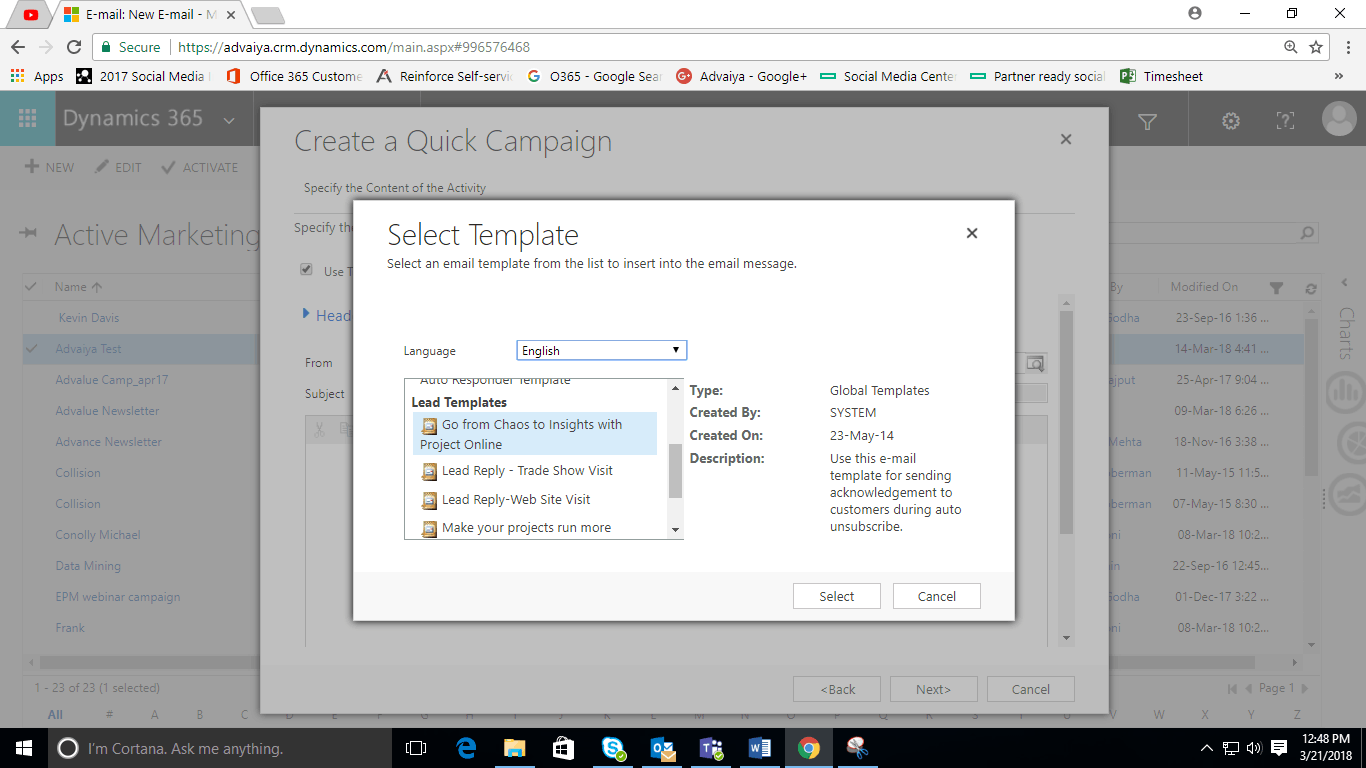
I can then start to build my email if I wish by entering the subject and the text of the email. Rather than doing that though you can also use one of the templates so highlight Use Templates. We can then specify which template do I want to use. For instance, you want to use the already available templates say Chaos to Insights (that I have built), go ahead Select it. You can also create your own template per your needs. If you want to learn how to create customized email template in Microsoft Dynamics CRM, visit our blog archives or simply click on the link highlighted. If you want a quick preview of the pre-built template, simply click on the template name. It will show you the entire content of the email. You will see mail merge field have been used highlighted in yellow. Once you’re happy with the current template, so simply close that and click Next. This gives me the quick summary of my campaign.
If I click Create, that will create my new quick campaign. To view the campaign success or failure, on the Marketing Tab, go to Quick Campaigns, and here is the quick campaign. Now we can see that the email was sent to a total of 4 members which were successful, and the campaign is now complete which means all the emails have gone.
