In my last article “EVERYTHING ABOUT MICROSOFT QnA MAKER”, I have explained what is Microsoft QnA Maker service and how it helps to create an effective knowledge base from your existing FAQ pages and documents. In this blog I will explain the steps to create QnA Maker service to build a knowledge base which can be consumed in the chatbot directly.
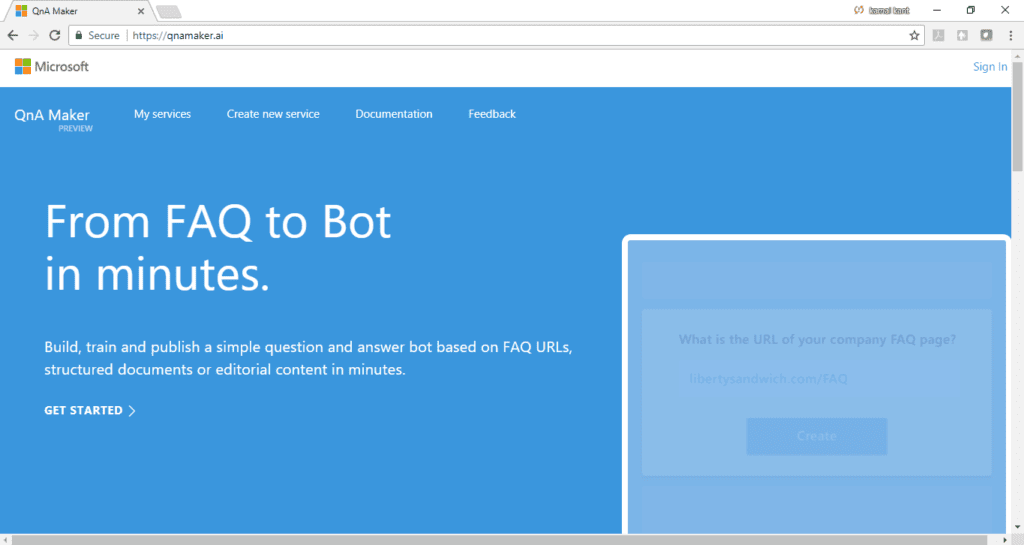
- Login to QnA Maker and Sign-in using Microsoft Live Account

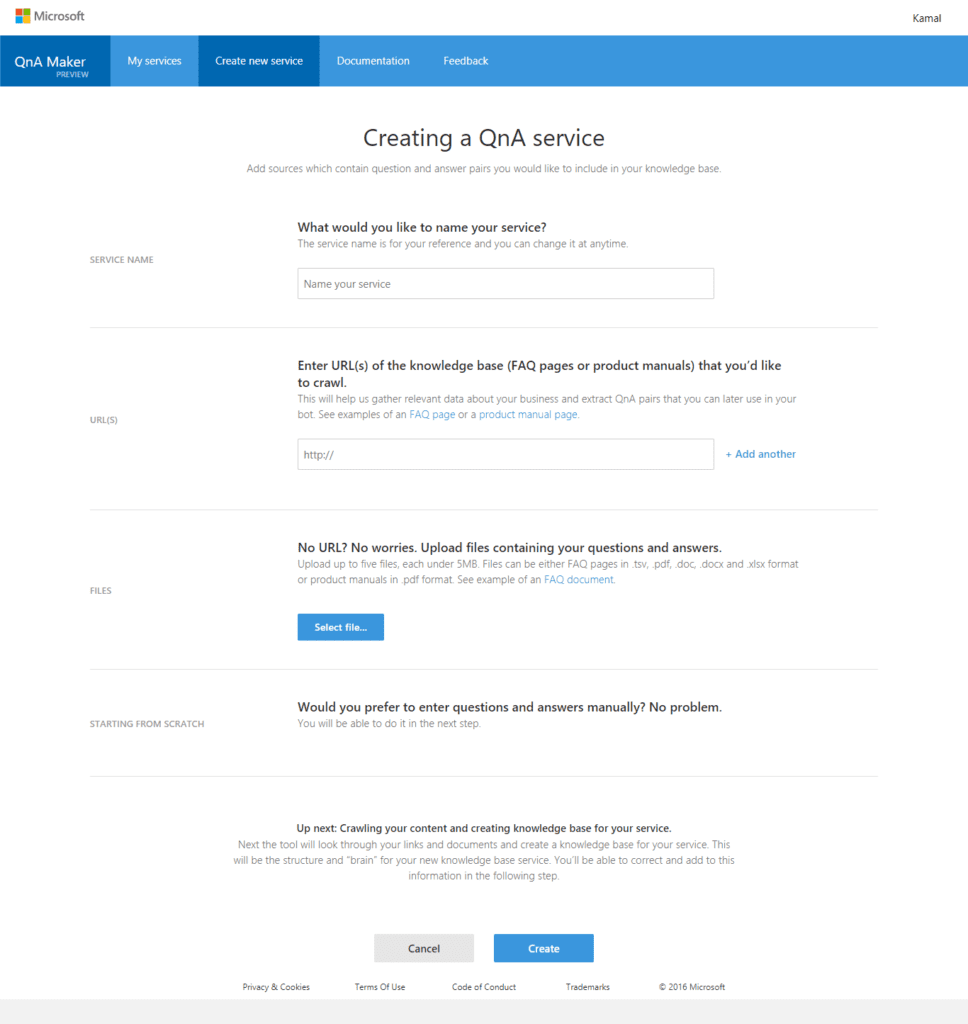
- Click on Create new service.
- Provide SERVICE NAME, it can be changed later as well. This field is mandatory and it will appear as a Bot response.

- QnA Maker provides three ways to enter your FAQs. We can use any one method or combinations of all three methods as per the requirement.
a. URL: In case your FAQs are listed on a web page, enter URL(s) for the same. Using + Add another option, you can add one or more publicly accessible FAQ style page URLs. Using this URL, QnA service will gather relevant data and extract QnA pairs that you can later use in your bot.

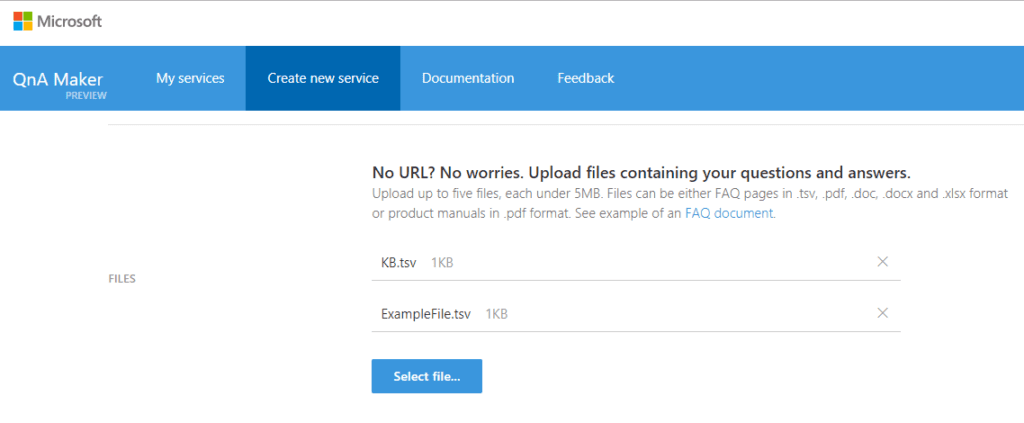
b. Files: In case of FAQ are listed in a file locally. You can easily upload single or multiple files (up to five files), each should be under 5MB. Files can be either FAQ pages in .tsv, .pdf, .doc, .docx and .xlsx format or product manuals in .pdf format. To upload files, click on Select file…

You can create your own FAQ file using “.tsv” format as shown in the below image (Highlighted in Yellow are Questions and the respective answer is in green separated by tab):
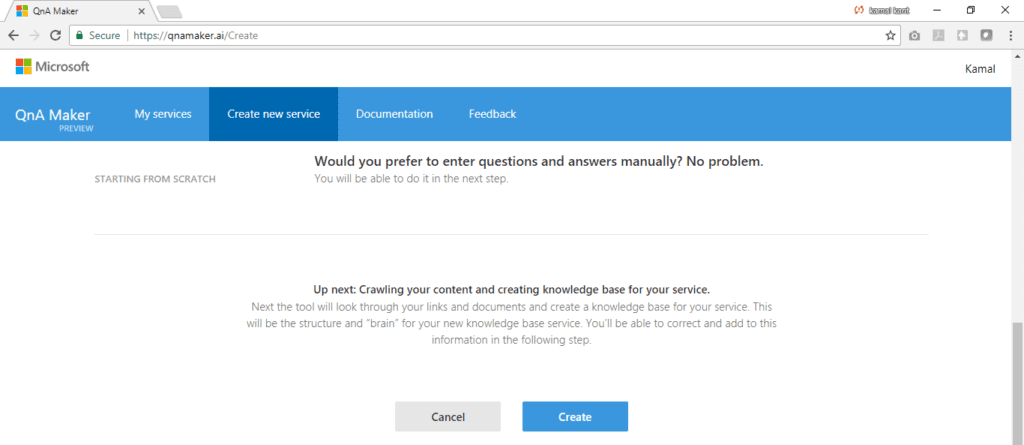
c. Manual Entry: If you want to enter questions manually, QnA allows you to enter queries manually as well. - Click on Create.

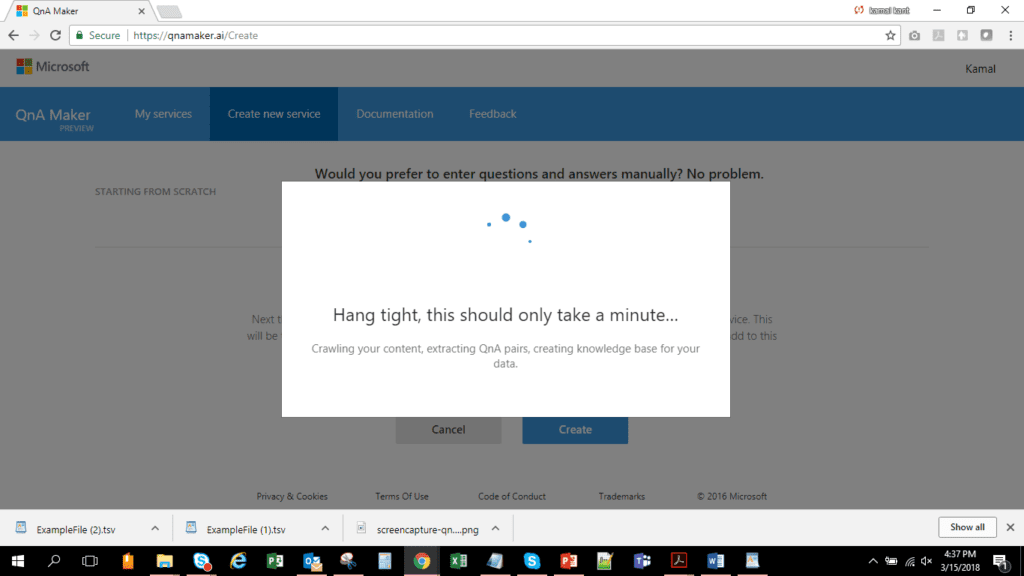
- Now QnA will crawl your links and documents and create a knowledge base.

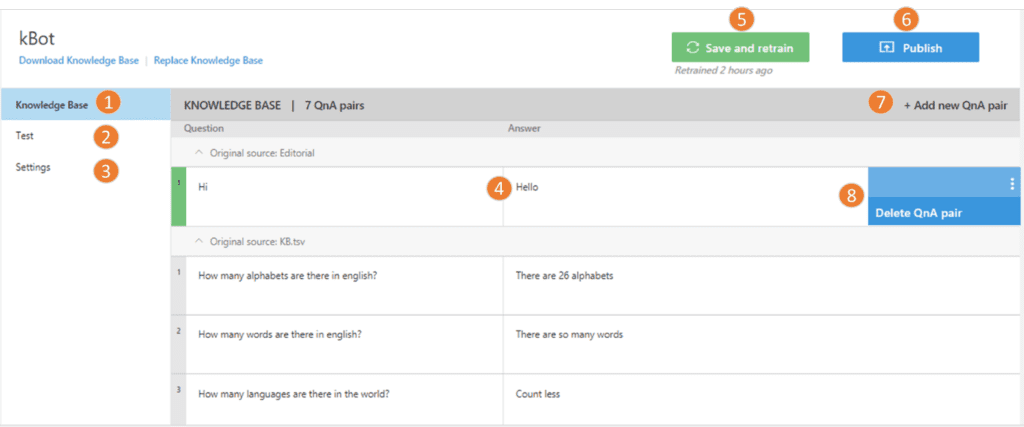
- After few seconds, Knowledgebase is ready and allows you to correct and update the same.

1. Knowledge Base Tab, showing all Questions and Answers extracted from defined sources.
2.Test the Bot request response, with all potential matches.
3.Settings, display all the settings, like Service name, URL entered.
4.Edit Question and Answer.
5.Save and train with all modified changes.
6.Publish, will be available with public HTTP URL.
7.Add new QnA pair, to add the new set of questions and answers.
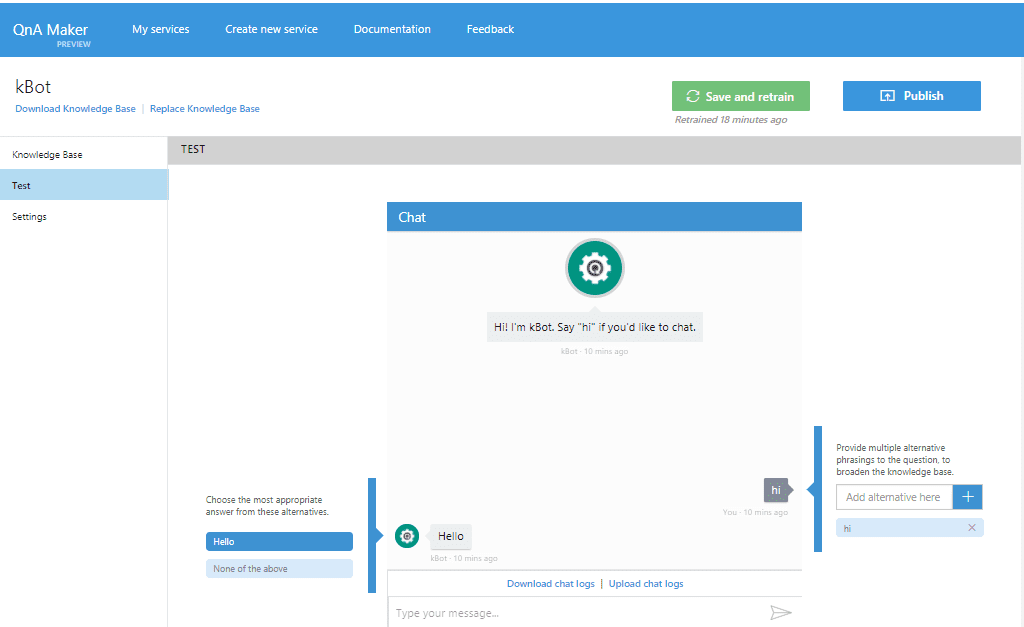
8. Delete QnA pair, to remove unwanted QnA pair.Testing the serviceNow after confirming knowledge base, now test the bot request response using the following steps:- Click on Test option in the left navigation.

- The Test service allows you to test all the Bot request and response. Even you can add multiple alternative phrasings to the question.
- On each response, it will show available appropriate answers from the knowledge base and allows you to choose the most appropriate answer from these answers.
- After correcting all mappings and adding new alternative phrases, to test with updated data, click on Save and retrain option to retrain the service. Now you can again confirm your mappings.
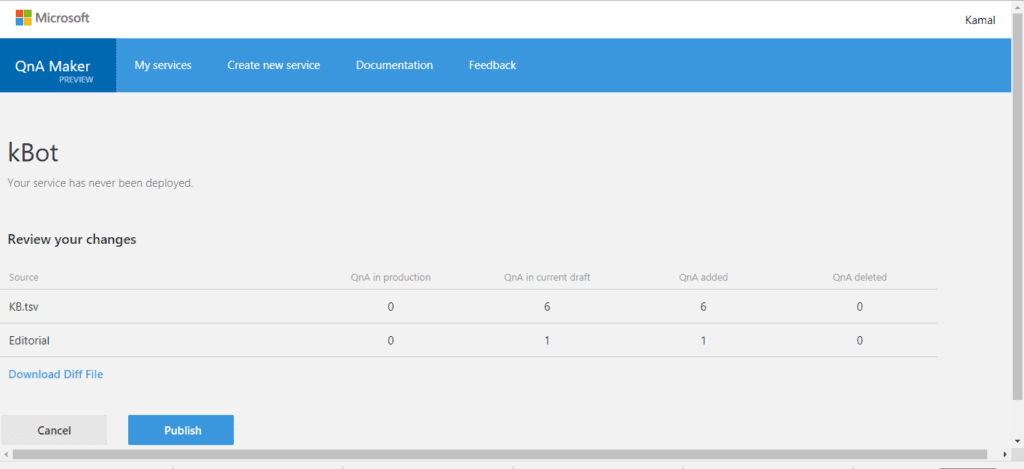
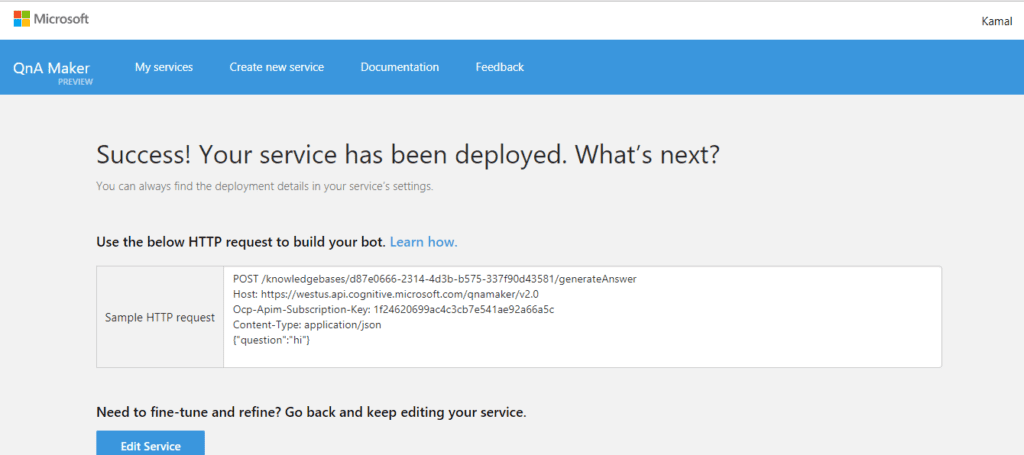
- Finally, when all the data is confirmed, click on Publish. You will see a confirmation screen. Click Publish again.

- You will then be presented with the information needed to consume the Bot.

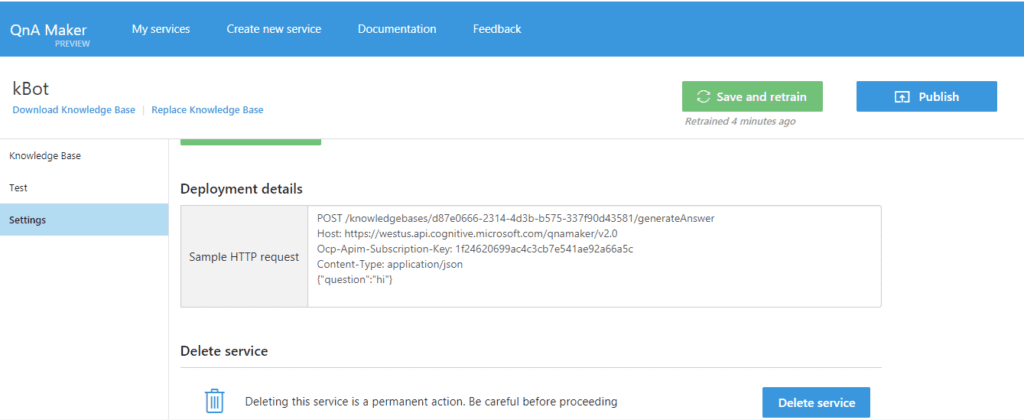
- To again get deployment details, click on My services, selecting the service, then click on Settings.
 This is all about how you can leverage QnA Maker service to convert existing FAQs into the knowledge base with minimum efforts. Now the time is to consume this knowledge base into chatbot application.
In the next article, I am going to explain how we can use the Azure Bot Service to setup our FAQ chatbot and consume this knowledge base.
- Click on Test option in the left navigation.


 This is all about how you can leverage QnA Maker service to convert existing FAQs into the knowledge base with minimum efforts. Now the time is to consume this knowledge base into chatbot application.

